Leaks don’t give warnings before causing costly headaches for property managers in California. Staying ahead means understanding exactly what your building requires, both for water damage prevention and for complying with regulations like California’s Title 24 and local water conservation ordinances. This guide breaks down the practical steps you need to implement IoT-enabled leak detection systems to protect your assets, save money, and meet every compliance requirement from San Francisco to San Diego.
- Step 1: Assess Property Requirements And Compliance
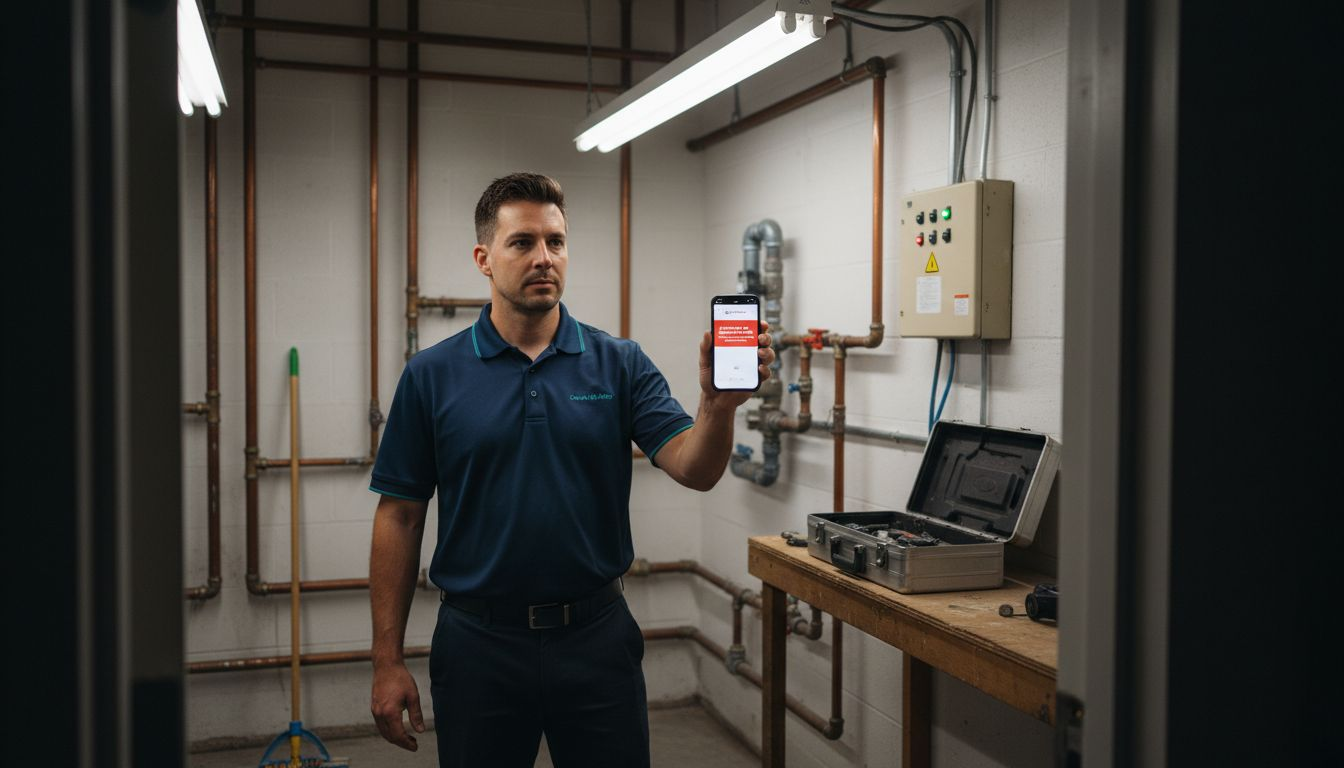
- Step 2: Select And Install Smart Leak Detection Devices
- Step 3: Configure System For Real-Time Monitoring
- Step 4: Test And Verify Leak Detection Functionality
Quick Summary
| Key Insight | Explanation |
|---|---|
| 1. Understand Compliance Needs | Review California building codes and local regulations to ensure your leak detection system meets legal standards. |
| 2. Choose Appropriate Sensors | Select sensors that suit your specific building needs, combining them for optimal leak detection coverage. |
| 3. Real-Time Monitoring Setup | Configure alerts and notification preferences to ensure immediate response to leaks and effective monitoring. |
| 4. Conduct Thorough Testing | Verify sensor functionality through systematic testing to ensure accurate leak detection before full operation. |
| 5. Document Metrics for ROI | Establish baseline metrics for water usage and leak costs to evaluate the return on investment of your detection system. |
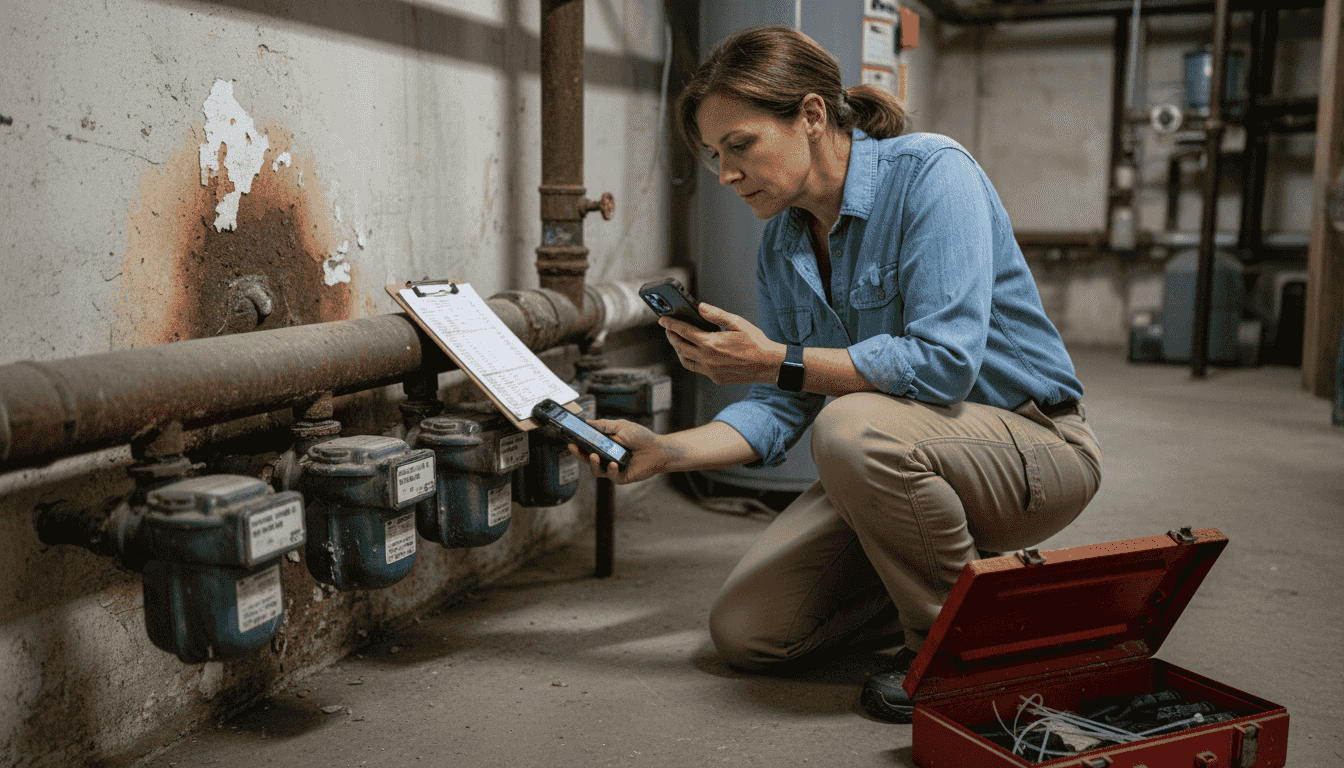
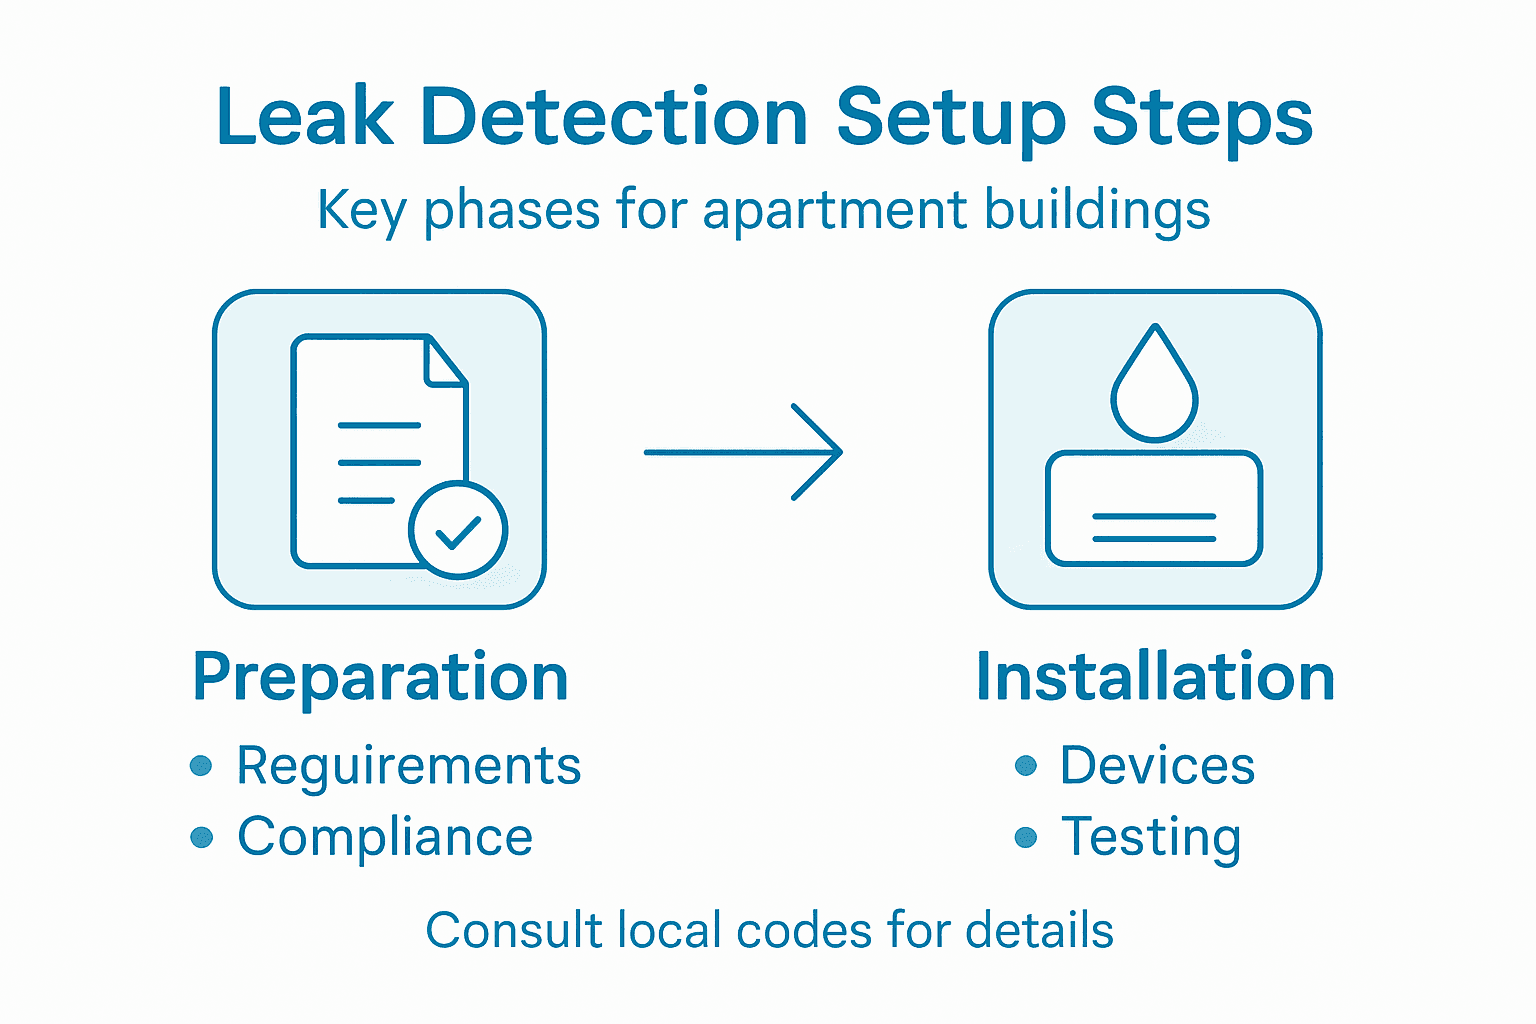
Step 1: Assess Property Requirements and Compliance
Before installing any leak detection system, you need to understand exactly what your California multifamily building requires. This assessment shapes every decision that follows, from device placement to monitoring features.
Start by reviewing your property’s building codes and local regulations. California’s Title 24 standards set mandatory requirements for water efficiency and metering in multifamily buildings. Your city or county may have additional rules. San Francisco, Los Angeles, and San Diego all have specific water conservation ordinances that affect system design.
Next, audit your building’s current infrastructure:
- Document existing water meters and their locations
- Identify main water shutoffs and isolation valves
- Note the age and condition of your plumbing lines
- List all water sources (building supply, recirculation systems, landscape irrigation)
- Map out unit layouts to understand water distribution patterns
Then, determine which compliance certifications matter for your property. If you’re pursuing LEED certification, your building must meet LEED multifamily sustainability requirements for water systems and environmental standards. Even without LEED, understanding your building’s baseline helps define what you’re monitoring.
Assess your specific operational goals. Are you focused on preventing water damage, enabling tenant billing, reducing consumption, or meeting regulatory mandates? Your priorities determine which sensors and monitoring capabilities you actually need.
Check your property’s insurance requirements. Many insurers now offer discounts for buildings with automated leak detection and shutoff systems. Knowing this can offset system costs significantly.
Finally, establish baseline metrics. Document your current water usage, recent repair costs from leaks, and insurance premium amounts. These numbers become your ROI baseline when evaluating system benefits.
Your building’s compliance foundation determines everything else. Get this step right, and the rest of implementation flows smoothly.
Pro tip: Schedule a consultation with your local water utility’s conservation department before purchasing any system. Many California utilities offer rebates or technical guidance for multifamily properties implementing leak detection, which can reduce your upfront investment significantly.
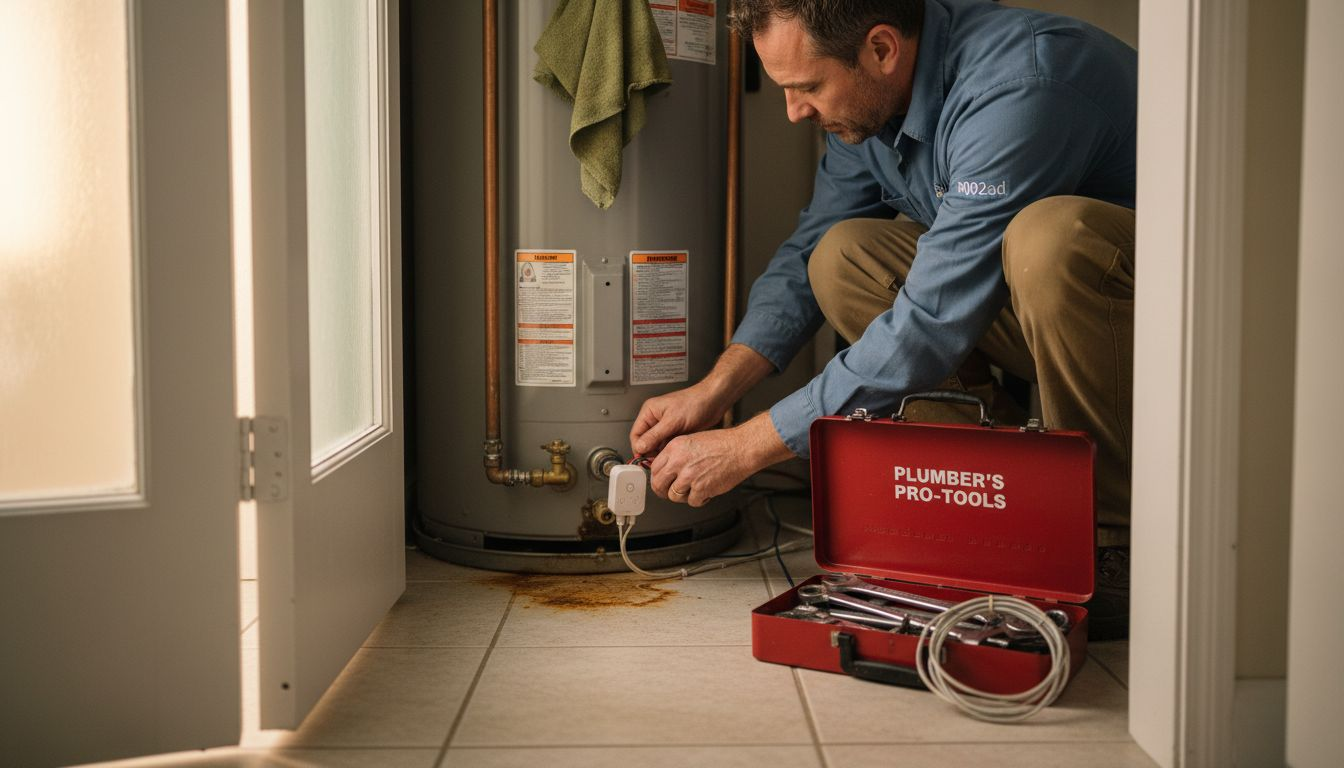
Step 2: Select and Install Smart Leak Detection Devices
Now that you understand your building’s requirements, it’s time to choose and install the right leak detection system. This step transforms your assessment into actual hardware and monitoring capabilities.
Start by evaluating sensor types for your specific needs. Water leak sensors detect moisture around pipes, water heaters, and drains. Pressure sensors monitor line pressure changes that indicate leaks. Flow sensors track water movement through your system. The best approach uses a combination of sensors placed at vulnerable points throughout your building.
Here’s a comparison of smart leak sensor types and where each is best used:
| Sensor Type | Ideal Location | Key Advantage |
|---|---|---|
| Moisture Sensor | Under sinks, near drains | Detects small leaks early |
| Pressure Sensor | Main supply lines, risers | Catches pipe bursts fast |
| Flow Sensor | Building entry, meter rooms | Monitors overall usage |
| Combo Sensor | Critical areas, HVAC closets | Multiple threats detected |
Consider these selection criteria:
- Real-time alert capabilities to detect issues immediately
- Compatibility with your existing plumbing and electrical infrastructure
- Wireless or hardwired connectivity options
- Battery life (for wireless sensors)
- Accuracy ratings and false alarm rates
- Integration with automated shutoff systems
When evaluating options, explore smart leak sensors designed specifically for multifamily buildings to understand what features matter most for apartment complexes and HOA properties.
Before installation, map out sensor placement using your infrastructure audit from Step 1. Focus on high-risk areas: under sinks, near water heaters, behind toilets, around HVAC condensation lines, and near laundry connections. IoT sensor networks capable of detecting leaks send data for analysis and trigger automated responses to property managers.
Coordinate installation timing with your tenants. Schedule work during reasonable hours and provide advance notice. Professional installation ensures sensors are positioned correctly and connected properly to your monitoring hub.
After installation, test every sensor thoroughly. Run water at each monitored location and verify alerts reach you immediately. Document sensor locations, IDs, and associated areas in your system.
Proper sensor placement determines whether you catch leaks early or miss them entirely. Invest time in planning locations before installation begins.
Pro tip: Choose a system offering free professional installation, which ensures optimal sensor placement and saves you the cost of hiring a technician separately while guaranteeing correct setup from day one.
Step 3: Configure System for Real-Time Monitoring
With your sensors installed, you now need to configure your system to actively monitor your building and alert you to problems as they happen. This step ensures your hardware becomes a functioning protective system.
Start by connecting your sensors to your central hub or cloud platform. Most modern systems use wireless connectivity, so you’ll pair each sensor using your system’s app or web interface. Enter sensor locations and assign them to specific units or building zones so alerts tell you exactly where a leak occurs.
Set up your alert thresholds and notification preferences. Configure what moisture levels trigger alerts, how quickly you receive notifications, and who gets contacted. Most property managers want immediate alerts for severe leaks but may tolerate brief moisture spikes near HVAC condensation areas.
Your configuration options should include:
- Alert severity levels based on moisture or pressure readings
- Notification delivery methods (app, email, text message, phone call)
- Escalation protocols if initial alerts go unacknowledged
- Integration with your maintenance team’s workflow
- Data logging for compliance and insurance documentation
- Automated shutoff triggers for critical situations
Real-time monitoring platforms enable continuous tracking and alerting across your property, allowing instant detection of problems before they become costly.
Test your notification system thoroughly. Trigger alerts manually and confirm you receive them across all configured channels. Ensure backup contacts receive alerts if primary receivers are unavailable.
Configure your system’s data analytics and reporting features. Set up dashboards showing water usage patterns, alert history, and sensor status. These insights help identify recurring problem areas and track improvement over time.
Establish your baseline metrics in the system so you can track changes. Document current water consumption, pressure readings, and temperature baselines. Your system will use these to identify anomalies more accurately.
Here’s how a well-configured system benefits different stakeholders:
| Stakeholder | Main Benefit | Long-Term Impact |
|---|---|---|
| Owner/Investor | Asset protection | Higher property value |
| Property Manager | Faster issue response | Lower emergency costs |
| Tenant | Fewer disruptions | Improved satisfaction |
| Insurer | Reduced claims risk | Potential premium savings |
Real-time configuration determines how quickly you respond to leaks. Responsive alerts save buildings thousands in damage costs each year.
Pro tip: Configure multiple notification channels with different team members assigned to different alerts, ensuring someone always responds immediately even during vacations, holidays, or emergencies.
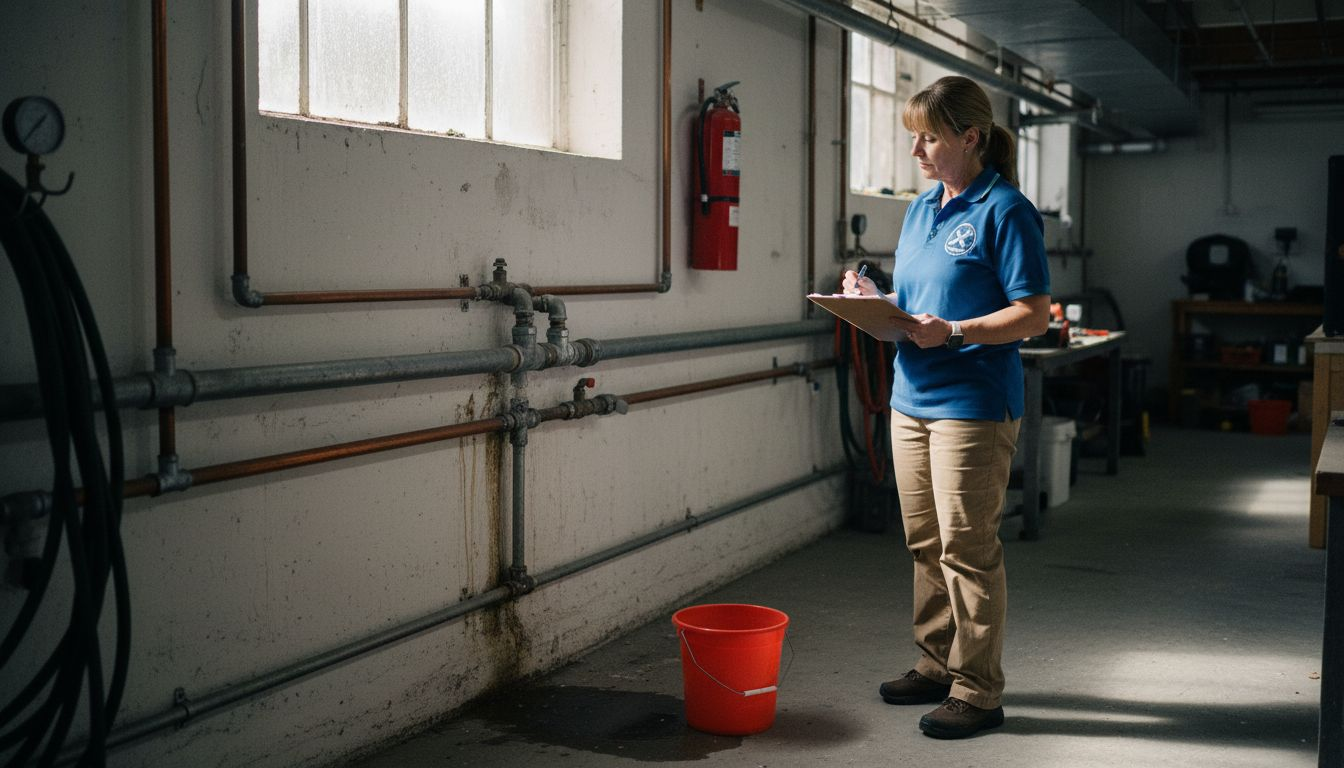
Step 4: Test and Verify Leak Detection Functionality
Before your system goes live, you need to verify that every sensor detects leaks accurately and alerts you properly. This testing phase prevents false confidence and ensures your investment actually protects your building.
Start with a systematic sensor verification process. Begin at one sensor location and deliberately introduce moisture or water to trigger detection. For moisture sensors, use a spray bottle near the sensor. For pressure sensors, slightly reduce water pressure in that zone and observe readings. Document which sensors respond and how quickly alerts arrive.
Your testing checklist should cover:
- Moisture detection accuracy at each sensor location
- Alert delivery across all notification channels
- Time lag between leak detection and notification
- Automatic shutoff functionality if installed
- System performance under normal and high water usage
- False alarm rates during routine building operations
- Dashboard data accuracy and reporting
Test alerts at different times and involve your actual response team. Have your maintenance staff acknowledge alerts and simulate their response procedures. This reveals gaps in your workflow before a real emergency occurs.
Comprehensive testing and verification procedures ensure systems function reliably in complex real-world conditions while reducing false positives that waste response time.
Conduct testing across various scenarios. Test during peak water usage hours when pressure fluctuates. Test overnight when water consumption is minimal to verify sensors distinguish normal activity from actual leaks. Test after heavy rains if you monitor condensation areas.
Document all test results meticulously. Record sensor response times, alert accuracy, false alarm incidents, and team response times. This documentation serves as your baseline for system performance.
Compare your actual test results against manufacturer specifications. If any sensor underperforms, investigate whether it needs repositioning, recalibration, or replacement before declaring the system operational.
Testing reveals problems now. Skipping this step means discovering failures during an actual emergency when seconds matter most.
Pro tip: Schedule quarterly verification tests alongside your regular maintenance routine to ensure sensors remain responsive and haven’t drifted from calibration, catching degradation before it affects real leak detection.
Protect Your California Multifamily Building with Smart Leak Detection Solutions
Water leaks in multifamily buildings can cause costly damage and operational headaches. This article highlights the crucial steps for setting up an effective leak detection system, emphasizing compliance with California building codes like Title 24, early leak identification, and real-time monitoring. If you want to prevent water damage, reduce insurance risks, and improve tenant satisfaction, smart sensors combined with automated alerts and shutoff systems are the answer.
Leaksense.io offers tailored water leak detection and metering solutions designed specifically for multifamily residential properties in California. Our platform features professional installation, IoT-enabled sensor networks, and continuous water usage analytics that help you meet regulatory requirements while saving on water costs. With integrated alerting and remote shutoff capabilities, you gain peace of mind and proactive control over your water infrastructure.
Ready to elevate your property’s water protection strategy?
Explore how our smart leak detection solutions can safeguard your asset, support Title 24 compliance, and enhance tenant billing by visiting Leaksense. Learn more about smart leak sensors for multifamily buildings and start protecting your investment today with expert consultation and seamless system setup.
Frequently Asked Questions
What are the essential steps to assess my multifamily building’s requirements for a leak detection system?
To assess your multifamily building’s requirements, start by reviewing local regulations and building codes. Create an audit of your existing water infrastructure and document key details like water meter locations and plumbing conditions.
How do I choose the right type of sensors for my leak detection system?
Select sensors based on your specific needs, such as moisture, pressure, or flow detection. For example, place moisture sensors under sinks and pressure sensors on main supply lines to cover high-risk areas effectively.
What should I include in the configuration of my leak detection system?
Configure the alert thresholds, notification preferences, and integration with your maintenance team’s workflow to ensure effective monitoring. Set up severe leak alerts that trigger immediate notifications to reduce response time and potential damage.
How can I ensure my leak detection system functions correctly?
Perform a systematic testing process by deliberately triggering each sensor to confirm accuracy and response times. Use this testing phase to document any issues and adjust sensor placement as needed, ensuring reliable leak detection.
What are the long-term benefits of implementing a leak detection system in my building?
Implementing a leak detection system can protect your property from expensive water damage while improving tenant satisfaction. Over time, this can lead to reduced maintenance costs and potentially lower insurance premiums due to diminished claims risk.