Water leaks can turn a quick fix into a costly emergency for property managers across California. With complex plumbing systems running behind every wall and under every floor, even a small undetected leak can mean major repairs, angry tenants, and mounting expenses. Automating water shutoff in multifamily properties protects your investment and keeps you ahead of compliance standards while providing you a clear action plan for integrating advanced solutions and securing consistent, reliable building operations.
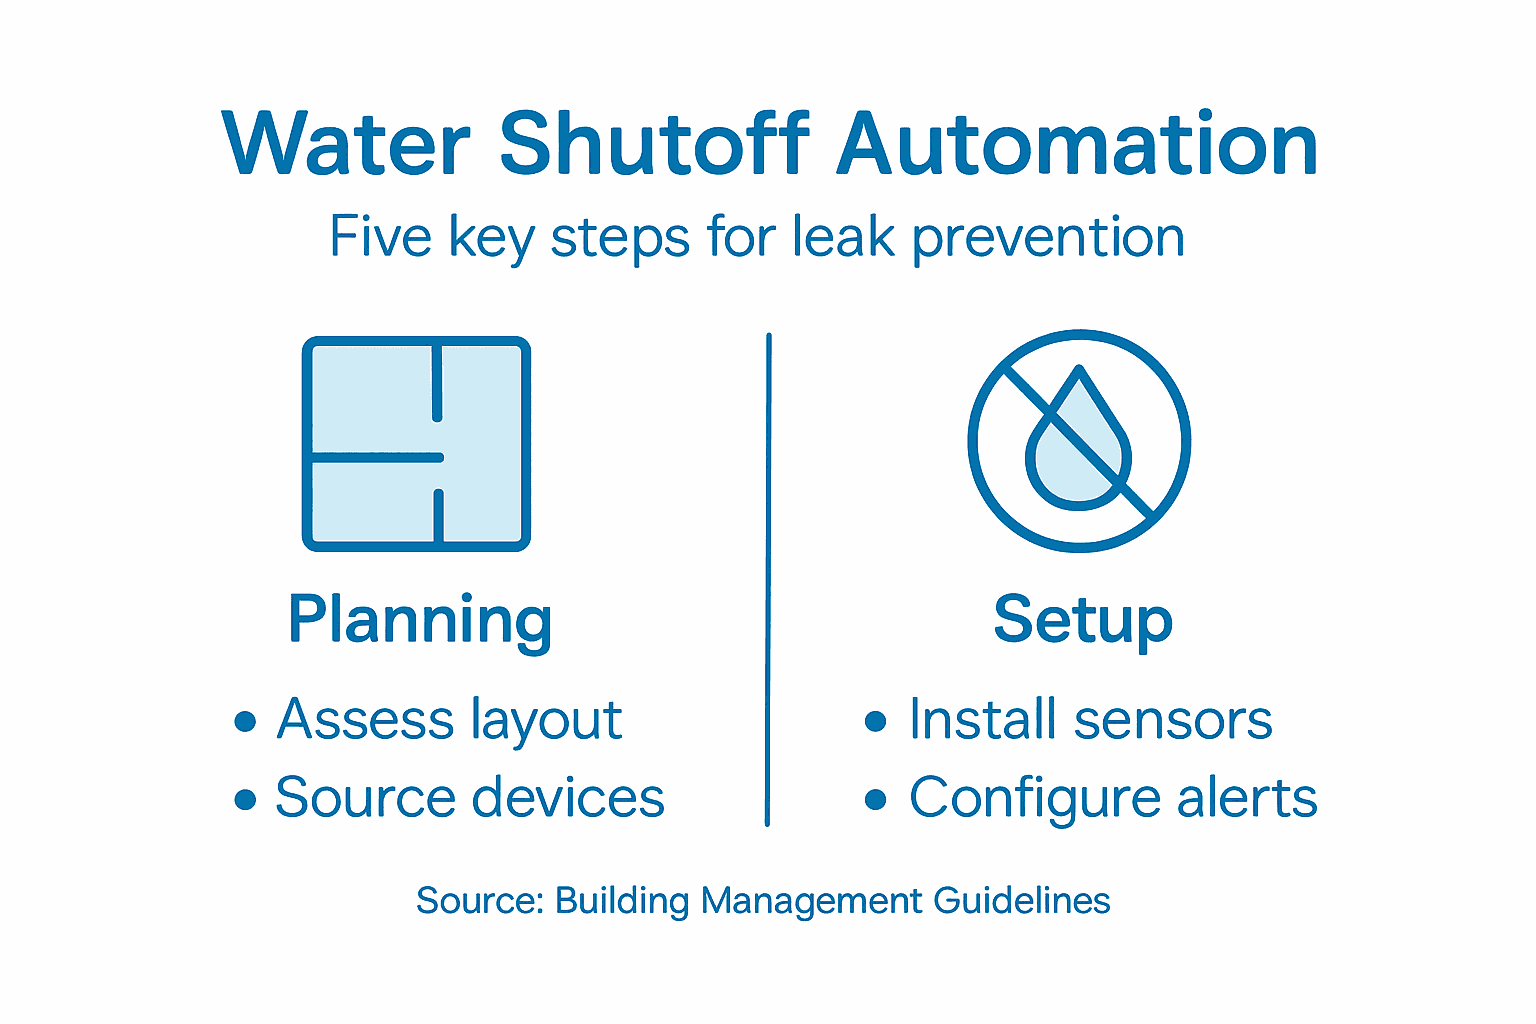
- Step 1: Assess Property Requirements And Plumbing Layout
- Step 2: Choose And Source Compatible Shutoff Devices
- Step 3: Install Water Shutoff Hardware And Sensors
- Step 4: Connect System To IoT Platform And Configure Alerts
- Step 5: Test Automated Shutoff And Validate Functionality
Quick Summary
| Key Point | Explanation |
|---|---|
| 1. Assess plumbing layout first | A detailed understanding of your plumbing infrastructure is essential for effective automated water shutoff and leak prevention. |
| 2. Choose compatible shutoff devices | Select devices that integrate seamlessly with your existing plumbing and provide reliable monitoring and alerts for leak detection. |
| 3. Install sensors strategically | Proper placement of sensors is crucial for effective leak detection; install them in key areas of your water distribution network. |
| 4. Configure IoT communication | Establish your IoT setup to enable real-time data transmission and configure alert systems for immediate responses to leaks. |
| 5. Conduct thorough system testing | Regularly validate your automated shutoff system’s performance to ensure it functions correctly and reliably protects against water damage. |
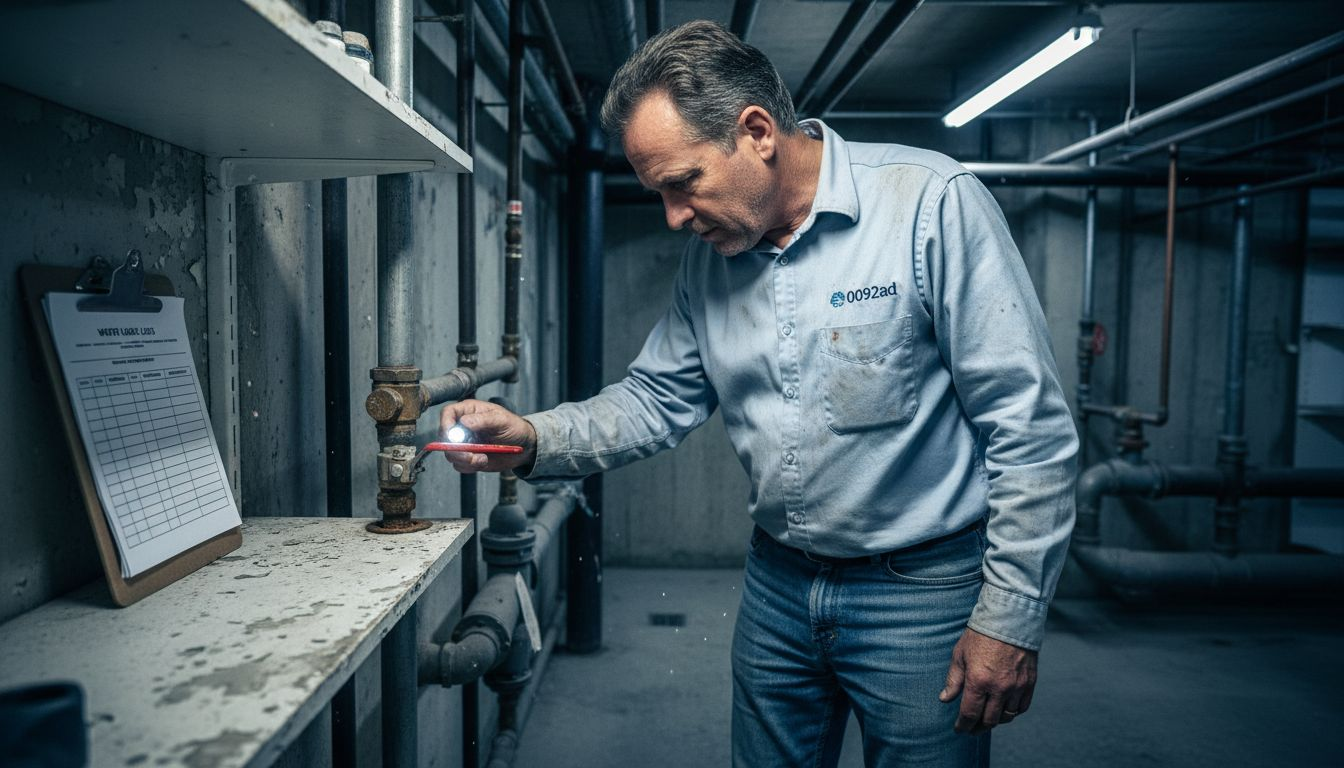
Step 1: Assess Property Requirements and Plumbing Layout
Effectively automating water shutoff begins with a comprehensive understanding of your property’s unique plumbing infrastructure. By meticulously mapping out your water systems, you’ll create a strategic foundation for intelligent leak prevention.
To start, you’ll need to conduct a detailed plumbing layout assessment. This involves examining building water distribution systems comprehensively - tracking every water line, valve, and potential leak point across your multifamily property. Focus on identifying critical areas that require protection:
- Main water supply entry point
- Hot and cold water distribution lines
- Appliance connection points
- Irrigation system interfaces
- Basement and utility room water infrastructure
- Secondary water meters
Carefully document the physical layout, noting pipe materials, diameters, and connection types. Pay special attention to older sections of your plumbing network where corrosion or wear might increase leak risks. Detailed documentation will be crucial for selecting appropriate automated shutoff sensor placements.
Knowing your property’s complete water infrastructure is the first line of defense against potential water damage.
Working with a licensed plumber can help ensure you capture every nuanced detail of your water system. They can provide professional insights into potential vulnerability points and recommend optimal sensor placement strategies that align with your specific building configuration.
Pro tip: Create a digital map or schematic of your property’s water infrastructure to serve as a permanent reference for future maintenance and leak prevention efforts.
Here’s a summary of professional roles and their value during each automation step:
| Step | Key Professional Involved | Role in the Process |
|---|---|---|
| Plumbing assessment | Licensed plumber | Identifies vulnerabilities |
| Device selection | Manufacturer rep | Verifies compatibility and features |
| Hardware installation | Certified installer | Ensures proper sensor placement |
| IoT integration | IT specialist | Configures secure connectivity |
| System testing | Maintenance tech | Validates functionality and alerts |
Step 2: Choose and Source Compatible Shutoff Devices
Selecting the right automated water shutoff devices is a critical step in creating a comprehensive leak prevention strategy for your multifamily property. Your goal is to find robust, intelligent solutions that seamlessly integrate with your existing plumbing infrastructure and provide reliable protection.
Begin by evaluating shutoff devices that offer advanced IoT-based water monitoring capabilities. Look for systems with comprehensive features that match your specific property requirements:
- Compatibility with existing pipe materials
- Real-time monitoring and alerts
- Remote activation and control
- Adjustable sensitivity settings
- Battery backup and power options
- Integration with property management software
Sensor type selection is crucial. Consider electromechanical valves for main water lines and smart flow sensors for detecting minute pressure changes. Each device should provide granular data about water movement and potential leak indicators.
Choosing the right shutoff device transforms your water management from reactive to proactive protection.
Consult with manufacturers and licensed plumbing professionals to ensure complete compatibility with your building’s unique water distribution system. Verify communication protocols and potential integration challenges before making a final selection.

Pro tip: Request manufacturer demonstration units and conduct comprehensive testing in a controlled section of your property before full-scale implementation.
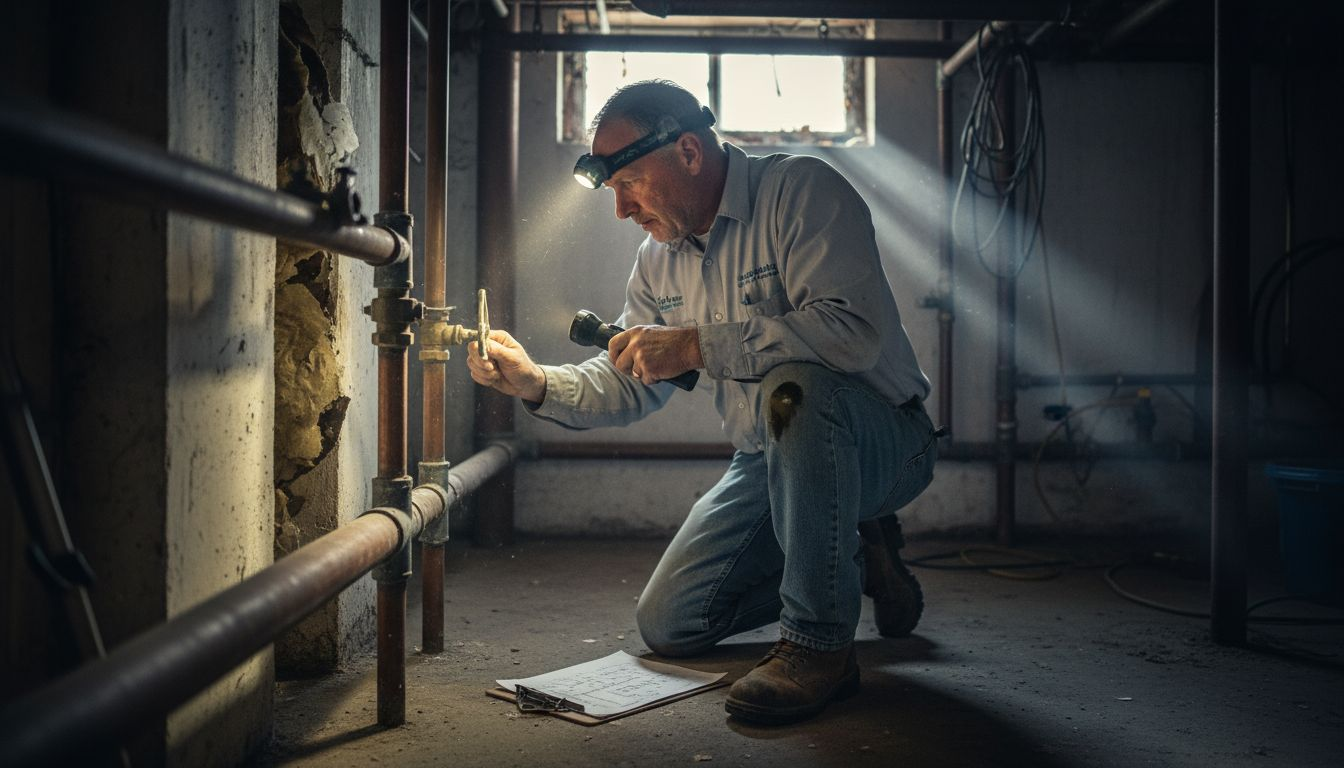
Step 3: Install Water Shutoff Hardware and Sensors
With your plumbing layout assessed and compatible devices selected, you’re ready to implement the physical installation of your automated water shutoff system. This critical phase transforms your leak prevention strategy from conceptual to operational, protecting your multifamily property from potential water damage.
Begin by strategically placing IoT-enabled sensors and shutoff valves at key points in your water distribution network. Your installation process should focus on these essential components:
- Main water line entry point
- Individual unit water supply lines
- Appliance connection areas
- High-risk zones like basements and utility rooms
- Areas with historical leak vulnerabilities
Precise sensor positioning is crucial for comprehensive leak detection. Mount ultrasonic and flow sensors where they can accurately monitor water movement and pressure changes. Ensure each sensor has clear communication pathways to your central monitoring system.
Proper hardware installation is the difference between potential water damage and proactive protection.
Electrical and communication setup requires careful attention. Connect sensors to your central control unit, verify power supply reliability, and test communication protocols. Waterproofing and secure mounting are non-negotiable to ensure long-term system reliability.
Pro tip: Document each sensor’s exact location and configuration during installation, creating a comprehensive map for future maintenance and troubleshooting efforts.
Here’s a quick reference for common sensor types and their main use in water system automation:
| Sensor Type | Main Use Case | Placement Suggestion |
|---|---|---|
| Ultrasonic sensor | Monitors pipe flow changes | Main and unit supply lines |
| Electromechanical valve | Shuts off water automatically | Main entry or high-risk junctions |
| Smart flow sensor | Detects minor leaks and pressure | Appliances and leak-prone areas |
| Pressure sensor | Identifies pipe bursts | Basements, utility rooms, meters |
Step 4: Connect System to IoT Platform and Configure Alerts
With hardware installed, you’re now ready to transform your water monitoring system into a powerful, intelligent network that provides real-time protection for your multifamily property. This critical integration phase will connect your physical sensors to a robust cloud-based platform that enables comprehensive leak detection and immediate response.
Begin by configuring IoT communication protocols that ensure seamless data transmission. Your configuration should include:
- Wi-Fi network credentials
- Cloud platform authentication
- Sensor-to-controller mapping
- Data transmission intervals
- Initial system calibration settings
Notification channel setup requires careful customization. Configure multiple alert pathways to ensure you never miss a critical water event:
- Set up email notifications
- Configure SMS text alerts
- Enable mobile app push notifications
- Establish escalation protocols for urgent situations
Effective alert configuration transforms your water management from passive monitoring to proactive protection.
Threshold configuration is crucial for preventing false alarms while maintaining sensitive leak detection. Calibrate your system to recognize meaningful water flow anomalies by establishing precise baseline measurements for different areas of your property.
Pro tip: Create a dedicated communication matrix that outlines exactly who receives which types of alerts and under what specific water system conditions.
Step 5: Test Automated Shutoff and Validate Functionality
With your water monitoring system fully configured, the critical phase of comprehensive testing begins. This step ensures your automated leak prevention solution performs precisely as designed, protecting your multifamily property from potential water damage through rigorous validation protocols.
Start by conducting systematic functionality tests across multiple scenarios. Your validation process should include:
- Simulated leak detection scenarios
- Manual trigger tests for shutoff valves
- Communication pathway verification
- Alert system responsiveness checks
- Sensor accuracy evaluations
Controlled leak simulation is essential to verify system performance. Introduce controlled water flow disruptions to test:
- Sensor detection accuracy
- Response time for valve closure
- Alert transmission speed
- Communication network reliability
Thorough testing transforms your water management system from a theoretical solution to a dependable protective mechanism.
Performance documentation matters critically. Record detailed test results, including response times, alert accuracy, and any potential system limitations. This documentation serves as a baseline for future maintenance and potential system upgrades.
Pro tip: Create a standardized test script that can be repeated quarterly to ensure ongoing system reliability and performance consistency.
Protect Your Multifamily Property with Automated Water Shutoff Solutions
Automating water shutoff is the key step to prevent costly water damage and ensure safety across your multifamily building. This article highlights how assessing plumbing layouts, selecting compatible sensors, and integrating smart IoT devices can transform leak management from reactive to proactive protection. If you want to eliminate uncertainty around water leaks and automate shutoff with confidence, Leaksense.io offers expert solutions tailored specifically for multifamily residential properties in California.
Discover how our smart water leak detection and automated shutoff systems provide real-time monitoring, remote control, and ensure Title 24 compliance. With professional installation and a cloud-based platform, you gain reliable leak alerts and actionable water usage insights designed to reduce waste and avoid major damages. Take the next step toward smarter water management by visiting Leaksense.io and learn how our tailored solutions protect your investment while delivering peace of mind. Explore our offerings and start preventing leaks today.
Frequently Asked Questions
How can I assess my property’s plumbing layout for automated water shutoff?
To assess your property’s plumbing layout, start by mapping out all water lines, valves, and potential leak points. Document the main water supply entry, appliance connections, and vulnerable areas, as this will help in selecting appropriate sensor placements.
What features should I look for in automated water shutoff devices?
Look for shutoff devices that offer IoT-based monitoring, real-time alerts, and compatibility with existing pipe materials. Ensure they have remote activation capabilities and adjustable sensitivity settings to meet your property’s specific needs.
How do I install automated water shutoff hardware and sensors?
Begin by placing sensors at key points, such as the main water line entry and high-risk areas like basements. Securely mount each sensor and ensure clear communication with your central monitoring system for optimal performance.
How do I configure alerts for my automated water shutoff system?
Configure your notification channels to include email, SMS, and mobile app alerts. Set specific thresholds for alerts to avoid false alarms, ensuring that critical water events are promptly communicated to the relevant personnel.
What testing should I conduct to validate my automated water shutoff system?
Conduct systematic tests that include simulated leak scenarios and communication pathway checks. Document the performance results, such as response times and alert accuracy, to ensure ongoing reliability of the system.
How often should I test my automated water shutoff system?
It’s recommended to test your automated water shutoff system quarterly to maintain its reliability and effectiveness. Create a standardized test script to follow, ensuring consistent evaluations of your system’s performance.